ROS2与Nav2应用opennav仿真教程-激光2D建图
说明
- 介绍如何使用激光数据进行2D建图
步骤
- 启动仿真
ros2 launch honeybee_bringup robot.launch.py use_simulation:=true use_sim_time:=true
- gazebo效果图

- 启动建图
ros2 launch honeybee_nav2 nav2.launch.py localization_type:=2D slam:=True use_sim_time:=true
- 启动rviz
ros2 launch honeybee_nav2 rviz_2d_slam.launch.py
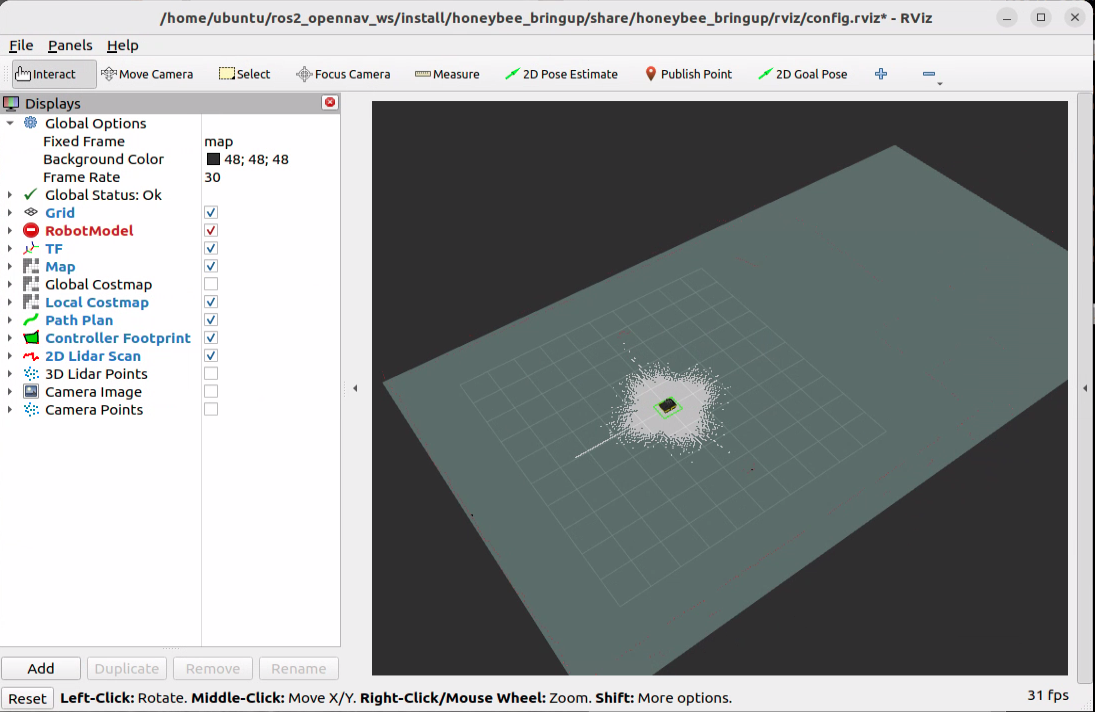
- rviz效果图

- 启动键盘控制
ros2 run teleop_twist_keyboard teleop_twist_keyboard
- 效果图
$ ros2 run teleop_twist_keyboard teleop_twist_keyboard

This node takes keypresses from the keyboard and publishes them
as Twist/TwistStamped messages. It works best with a US keyboard layout.
---------------------------
Moving around:
   u    i    o
   j    k    l
   m    ,    .

For Holonomic mode (strafing), hold down the shift key:
---------------------------
   U    I    O
   J    K    L
   M    <    >

t : up (+z)
b : down (-z)

anything else : stop

q/z : increase/decrease max speeds by 10%
w/x : increase/decrease only linear speed by 10%
e/c : increase/decrease only angular speed by 10%

CTRL-C to quit

currently:  speed 0.5   turn 1.0
- 通过键盘移动小车进行建图
- 保存地图
# 地图目录
mkdir -p $HOME/experiment_files

#保存地图
/home/ubuntu/ros2_opennav_ws/src/nav2_opennav/opennav_amd_demonstrations/scripts/save_map
- 地图保存在$HOME/experiment_files,按时间命令入如:map_1725188425.pgm map_1725188425.yaml
演示视频
获取最新文章: 扫一扫右上角的二维码加入“创客智造”公众号


