Turtlebot3-burger入门教程-安装树莓派v2摄像头
说明
- 介绍如何在burger安装The Raspberry Pi Camera Module v2的驱动和测试摄像头
相关设备
- Turtlebot3-burger套件:采购地址
注意:burger本身是不自带树莓派v2摄像头,需要额外购置。
操作步骤
- [TurtleBot] 在树莓派上进行摄像头设置
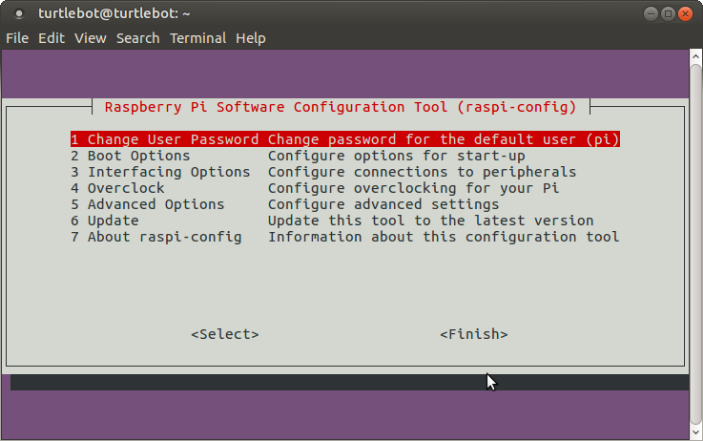
$ sudo raspi-config

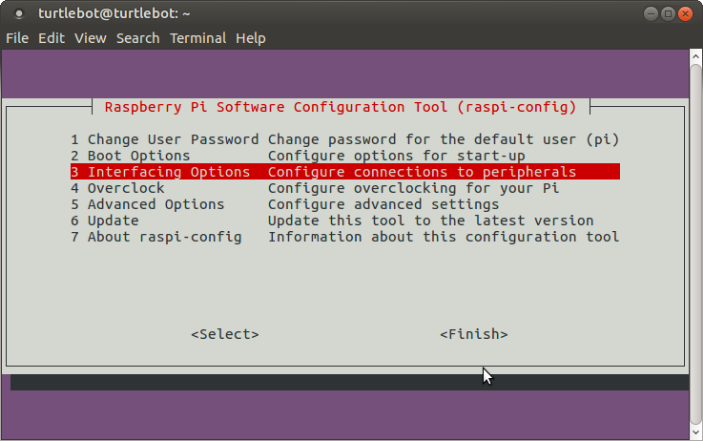
- 选择
3 Interfacing Options

- 选择
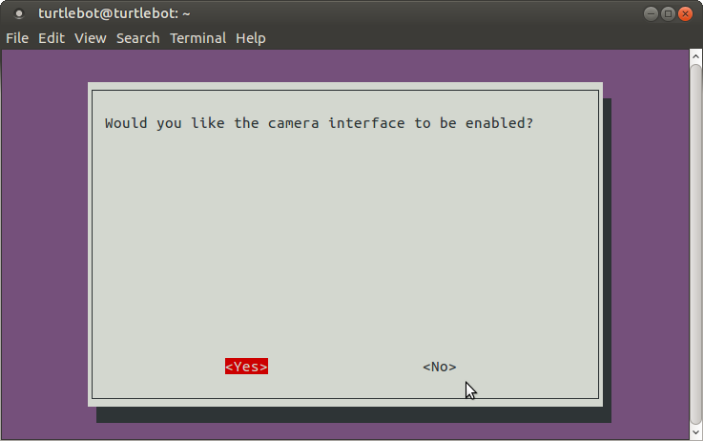
P1 Camera

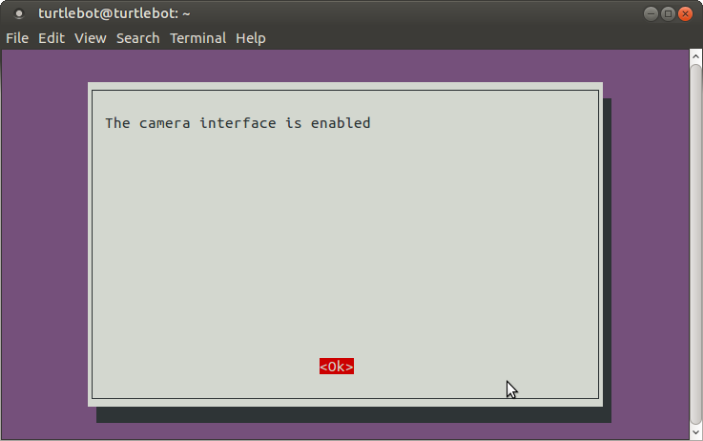
- Enable camera interface


- 检测是否安装好
$ vcgencmd get_camera
supported=1 detected=1
分别都为1就正确,确认supported不为1就是还没开启,detected不为1就是硬件没识别,检查连线
[TurtleBot] 设置完之后测试以下是否能正常使用,输入以下以下命令,正常情况下树莓派系统的桌面上会生成一张摄像头捕捉到的图像
$ raspistill -v -o test.jpg
- [TurtleBot] 安装ros驱动包
$ cd ~/catkin_ws/src
$ git clone https://github.com/UbiquityRobotics/raspicam_node.git
$ sudo apt-get install ros-kinetic-compressed-image-transport ros-kinetic-camera-info-manager
$ sudo apt-get install ros-kinetic-cv-bridge
$ sudo apt-get install ros-kinetic-opencv3

$ vim /etc/ros/rosdep/sources.list.d/30-ubiquity.list
##添加下面这段话到 30-ubiquity.list 后保存:
yaml https://raw.githubusercontent.com/UbiquityRobotics/rosdep/master/raspberry-pi.yaml

$ rosdep update
$ cd ~/catkin_ws
$ rosdep install --from-paths src --ignore-src --rosdistro=kinetic -y
$ cd ~/catkin_ws && catkin_make
- [TurtleBot] 运行raspicam节点
$ roslaunch turtlebot3_bringup turtlebot3_rpicamera.launch
##或者执行下面这条命令进行测试
$ roslaunch raspicam_node camerav2_1280x960.launch
- [Remote PC] 执行以下命令
$ rqt_image_view
- 桌面出现显示摄像头即时内容的gui界面时,说明已成功安装
参考链接
获取最新文章: 扫一扫右上角的二维码加入“创客智造”公众号


