Arduino库教程-GSM-Make Voice Call
Make Voice Call(语音呼叫)
- 这个程序连接一个来自GSM shield 和 Arduino 或 Genuino 的语音呼叫,到一个通过串口监视器输入的远程电话号码。你需要连接一个扬声器和麦克风来来听连接的电话和传输你的声音。
硬件要求
- Arduino 或者 Genuino 开发板
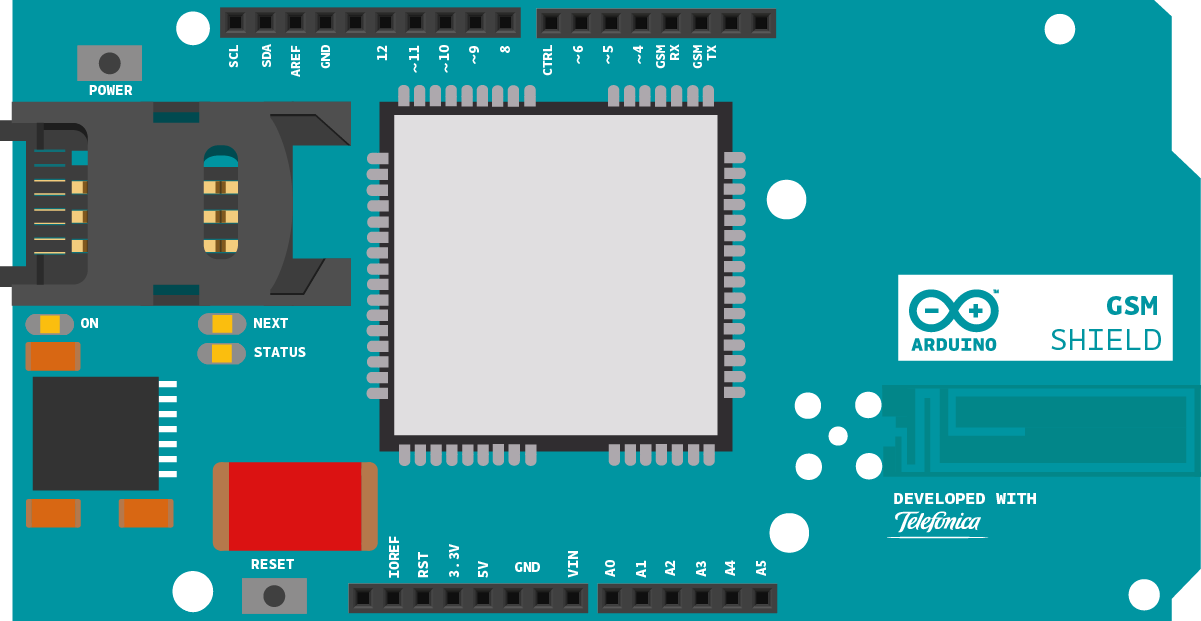
- Arduino + Telefonica GSM/GPRS Shield
- 连接到GSM shield的麦克风和扬声器
- SIM 卡
电路

这是在一块Arduino或者Genuino开发板上的Arduino GSM Shield图
样例代码
- 首先,加上GSM库
#include <GSM.h>
- SIM卡可能有一个引脚数,来使能它们的功能。为您的SIM卡定义引脚。如果你的卡没有引脚,你可以让它空白:
#define PINNUMBER ""
- 初始化将要使用的类的实例。你同时需要GSM和GSMVoiceCall类。
GSM gsmAccess;
GSMVoiceCall vcs;
- 创建一些变量来储存你想打电话的电话号码:
String remoteNumber = "";
char charbuffer[20];
- 在setup()里,打开一个到计算机的串口连接。打开连接后,发送一个消息示意程序已经开始了。
void setup(){

  Serial.begin(9600);
  Serial.println("Make Voice Call");
- 创建一个本地变量来跟踪连接状态。直到SIM连接到网络之前,你可以用这个来防止程序开始运行:
boolean notConnected = true;
通过调用gsmAccess.begin()连接到网络。它以SIM卡的引脚当作一个参数。你也可以用gprs.attachGPRS()连接到GPRS网络。这个要求你前面声明的APN,登录和密码。通过放在while()循环里,你可以不断地检查连接的状态,等到他们都成为真。
当调制解调器连接到GPRS网络,gsmAccess() 将返回GSM_READY。以此为连接与否的标志。一旦连接好,setup()的其余部分将会运行。
while(notConnected)
  {
    if(gsmAccess.begin(PINNUMBER)==GSM_READY)
      notConnected = false;
    else
    {
      Serial.println("Not connected");
      delay(1000);
    }
  }
- 发送一些信息到串口监视器来结束setup。
Serial.println("GSM initialized.");
  Serial.println("Enter phone number to call.");
}
这个循环将接受来自串口监视器的传入字节,并连接您的语音呼叫。
首先,检查串行缓冲区,查看是否有等待读取的信息。如果存在,则存储在本地变量中:
void loop()
{
  while (Serial.available() > 0)
  {
    char inChar = Serial.read();
- 如果缓冲区是一个换行符,看看输入的数少于20位数(从理论上讲,你永远不能拨一个比那更多数字的号码)。
if (inChar == '\n')
    {
      if (remoteNumber.length() < 20)
      {
- 打印出你呼叫到串口监视器的数字。
Serial.print("Calling to : ");
        Serial.println(remoteNumber);
        Serial.println();
- 电话号码将被存储在名为remoteNumber的字符串。voicecall()函数需要一个字符数组。复制字符串到名为charbuffer的数组。
remoteNumber.toCharArray(charbuffer, 20);
要拨打电话,使用vcs.voiceCall(),通过它来达到你希望的数字。voicecall()返回呼叫的状态;一个1表示已连接。你可以用getvoiceCallStatus()检查连接状态。
挂断你的电话,发送一个换行符来触发hangCall()。
if(vcs.voiceCall(charbuffer))
        {
          Serial.println("Call Established. Enter line to end");
          while(Serial.read()!='\n' && (vcs.getvoiceCallStatus()==TALKING));
          vcs.hangCall();
        }
- 一旦呼叫完成,清除存储电话号码的变量:
Serial.println("Call Finished");
        remoteNumber="";
        Serial.println("Enter phone number to call.");
      }
- 如果你在串口监视器输入的数字超过20位数,清理remoteNumber字符串并重新开始:
else
      {
        Serial.println("That's too long for a phone number. I'm forgetting it");
        remoteNumber = "";
      }
    }
- 读取来自串口监视器的信息时,如果输入的字符不是换行键或者回车键,将其添加到remoteNumber字符串,并关闭loop。
else
    {
      // add the latest character to the message to send:
      if(inChar!='\r')
        remoteNumber += inChar;
    }
  }
}
一旦你的代码被上传,打开串口监视器。一旦你看到“输入电话号码”的消息,键入一个电话号码并按“return”。确保串口监视器被设置为只发送一个换行符返回。
完整程序如下。
/*
 Make Voice Call

 This sketch, for the Arduino GSM shield, puts a voice call to
 a remote phone number that you enter through the serial monitor.
 To make it work, open the serial monitor, and when you see the
 READY message, type a phone number. Make sure the serial monitor
 is set to send a just newline when you press return.

 Circuit:
 * GSM shield
 * Voice circuit.
 With no voice circuit the call will send nor receive any sound


 created Mar 2012
 by Javier Zorzano

 This example is in the public domain.
 */

// libraries
#include <GSM.h>

// PIN Number
#define PINNUMBER ""

// initialize the library instance
GSM gsmAccess; // include a 'true' parameter for debug enabled
GSMVoiceCall vcs;

String remoteNumber = "";  // the number you will call
char charbuffer[20];

void setup() {

  // initialize serial communications and wait for port to open:
  Serial.begin(9600);
  while (!Serial) {
    ; // wait for serial port to connect. Needed for native USB port only
  }

  Serial.println("Make Voice Call");

  // connection state
  boolean notConnected = true;

  // Start GSM shield
  // If your SIM has PIN, pass it as a parameter of begin() in quotes
  while (notConnected) {
    if (gsmAccess.begin(PINNUMBER) == GSM_READY) {
      notConnected = false;
    } else {
      Serial.println("Not connected");
      delay(1000);
    }
  }

  Serial.println("GSM initialized.");
  Serial.println("Enter phone number to call.");

}

void loop() {

  // add any incoming characters to the String:
  while (Serial.available() > 0) {
    char inChar = Serial.read();
    // if it's a newline, that means you should make the call:
    if (inChar == '\n') {
      // make sure the phone number is not too long:
      if (remoteNumber.length() < 20) {
        // let the user know you're calling:
        Serial.print("Calling to : ");
        Serial.println(remoteNumber);
        Serial.println();

        // Call the remote number
        remoteNumber.toCharArray(charbuffer, 20);


        // Check if the receiving end has picked up the call
        if (vcs.voiceCall(charbuffer)) {
          Serial.println("Call Established. Enter line to end");
          // Wait for some input from the line
          while (Serial.read() != '\n' && (vcs.getvoiceCallStatus() == TALKING));
          // And hang up
          vcs.hangCall();
        }
        Serial.println("Call Finished");
        remoteNumber = "";
        Serial.println("Enter phone number to call.");
      } else {
        Serial.println("That's too long for a phone number. I'm forgetting it");
        remoteNumber = "";
      }
    } else {
      // add the latest character to the message to send:
      if (inChar != '\r') {
        remoteNumber += inChar;
      }
    }
  }
}
[Get Code]
更多
GSM Constructor
GSM.begin()
GSM.shutdown()
GSMVoiceCall Constructor
getVoiceCallStatus()
ready()
voiceCall()
answerCall()
hangCall()
retrieveCallingNumber()
Arduino GSM Shield – 完整的产品描述。
Getting started with the GSM Shield – 在几分钟内启动所有东西
GSM library – GSM 库的参考网页
GSMExamplesMakeVoiceCall -如何用麦克风和扬声器进行语音通话。
GSMExamplesReceiveVoiceCall - 接收并连接该呼叫,呼叫的号码显示在串口监视器上,然后挂断电话。
GSMExamplesReceiveSMS - 如何收到一个SMS信息。
GSMExamplesSendSMS - 如何通过串口监视器发送SMS输入号码和文本。
GSMExamplesWebServer - 当从客户端获取一个请求时,Web服务器返回模拟输入引脚上的值。
GSMToolsTestGPRS – 试图用提供的APN和证书来通过GPRS访问互联网 。
获取最新文章: 扫一扫右上角的二维码加入“创客智造”公众号


